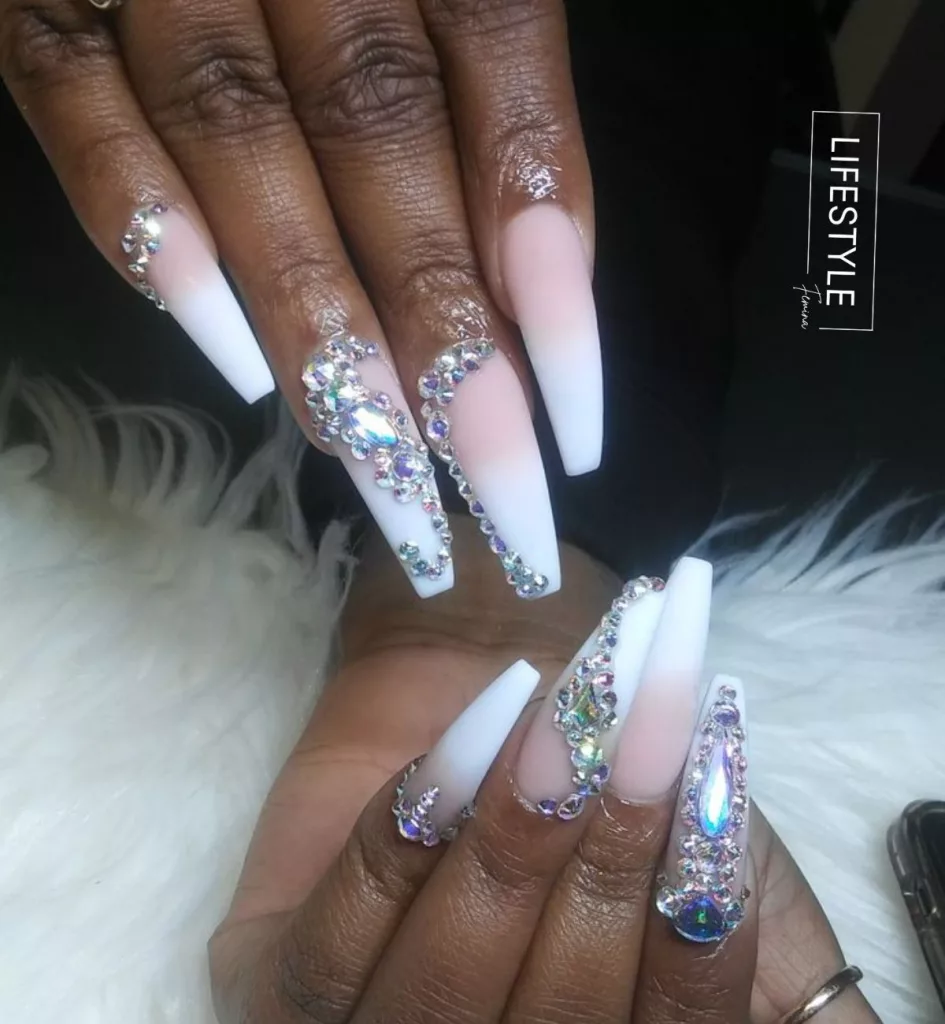
Baddie Simple Coffin Nails with Rhinestones: The Ultimate Guide to Achieving the Look
In the dazzling world of nail art, trends come and go, but certain styles leave an indelible mark, evolving and inspiring generations of nail enthusiasts. The “baddie” aesthetic, synonymous with confidence, allure, and a touch of rebelliousness, is one such trend that has caught the imagination of many. As the name suggests, it’s about embracing one’s inner “bad” girl, not in actions but in style, attitude, and fearless self-expression.
Coffin nails, reminiscent of the sleek, tapered design of a classic coffin, have soared in popularity as an embodiment of this aesthetic. Their distinct shape provides a unique canvas, allowing for an array of artistic interpretations. And what better way to elevate this canvas than with the timeless sparkle of rhinestones?
Rhinestones, with their multifaceted surfaces catching light from every angle, bring a touch of luxury and glamour to any design. They have been the cornerstone of many iconic nail art styles, especially when paired with coffin nails, creating an unbeatable combination of elegance and edginess.
In this guide, we will embark on a journey to understand the allure of Baddie Simple Coffin Nails with Rhinestones and provide a step-by-step approach to achieving this glamorous look. Whether you’re a novice just diving into the world of nail art or a seasoned enthusiast looking for fresh inspiration, there’s something here for everyone. Let’s get started!
Do you like summer? We have Eye-Catching Summer Acrylic Nail Designs for 2023
Understanding the Basics: What are Coffin Nails?
Coffin nails, also known as ballerina nails, have taken the beauty and nail industry by storm. Their unique and edgy shape, reminiscent of a coffin or the slipper-like shape of a ballerina’s shoe, distinguishes them from other nail shapes. As the trend has grown, we’ve seen them adorned in numerous colors, with Different Shades of Brown Nails emerging as a sophisticated and versatile choice for this particular style. The earthy tones beautifully complement the coffin’s edgy shape, adding a touch of elegance and subtlety. But what is the story behind this trend, and why has it become such a favorite among nail enthusiasts?
Historical Context and Evolution of the Coffin Nail Shape
The history of nail shaping and art can be traced back thousands of years, with different cultures embracing distinct nail styles to symbolize status, beauty, or societal roles. While almond and oval nails dominated much of the history, the coffin shape emerged more recently, during the late 20th and early 21st centuries. The shape gained traction among celebrities and influencers, who showcased the design on global platforms, making it an instant hit among fans.
Our Trending Blog: Gangster Instagram Baddie Nails You’ll Love to Flaunt
Why Coffin Nails are a Go-To Choice for Many
- Versatility: The coffin nail shape is versatile, complementing various nail lengths, from relatively short to long. This flexibility allows individuals to choose a length that suits their comfort and lifestyle.
- Fashion-forward Appeal: With its edgy and modern design, coffin nails serve as a canvas for intricate nail arts, rhinestones, and various color palettes, making them a trendy choice for those looking to make a statement.
- Illusion of Length: The tapered design, coupled with the flat tip, can create an illusion of longer and slender fingers, which many find attractive.
- Durability: Due to their flat tip, coffin nails might offer more strength than pointier shapes like stiletto nails, making them less prone to breakages, especially when done with acrylics or gels.
In essence, coffin nails are not just another fleeting trend. Their design, practicality, and versatility make them a preferred choice for many, from everyday individuals to red-carpet celebrities. Whether adorned with rhinestones, painted in pastels, or left nude, they offer a unique way to express individuality and style.
If you are a Nail lover, this blog is for you: A Step-by-Step Guide to Your Weekly Nail Care Routine
How to Get Baddie Simple Coffin Nails with Rhinestones
Before diving into the beautiful world of baddie simple coffin nails with rhinestones, it’s key to get your nails in the right shape. Coffin nails have a unique look, and they need some prep to get just right. Here’s a simple guide to help you shape them.
1. Choose the Right Nail Length:
Coffin nails typically look best on longer nails because of their tapered shape. If your natural nails aren’t long enough, you might consider nail extensions. If you prefer natural, just make sure they’re all an even length.
2. Gather Your Tools:
To shape your nails, you’ll need:
- A nail file (preferably a medium-grit one for shaping and a fine-grit one for smoothing).
- A nail clipper (in case you need to trim any uneven edges).
- A clean cloth or tissue to wipe away any nail dust.
3. Start Shaping:
Begin by clipping your nails to a general shape if they’re uneven. Next, start filing. The trick is to first file the sides of your nails straight and then slightly taper them in as you move towards the tip. Remember to file in one direction only; see-sawing back and forth can weaken your nails.
4. Achieve the Coffin Look:
Once the sides are done, it’s time to shape the tip. For the coffin shape, you want the tip to be flat but slightly narrower than the base of the nail. So, file the top flat, making sure it aligns with the tapered sides.
5. Smooth Everything Out:
After getting the shape right, use the fine-grit file to smooth the edges. This makes sure there are no sharp or rough spots.
6. Clean Up:
Once you’re done shaping, just wipe away any nail dust with the clean cloth or tissue. Your nails are now ready for the next steps!
Remember, practice makes perfect. If you don’t get it right the first time, don’t be hard on yourself. With a bit of patience and some steady filing, you’ll have the ideal coffin shape in no time. And once they’re shaped, they’ll be the perfect canvas for your baddie rhinestone designs.
Is it true: Nails Grow Overnight: The Ultimate Guide
How to Choose Your Baddie Simple Coffin Nails Base Color
Choosing the right base color is like picking the perfect canvas for a painting. It sets the tone for the final look and can make your rhinestones shine even brighter. Let’s dive into how you can choose and apply the best color for your baddie simple coffin nails.
Why the Base Color Matters
Think of your base color as the backdrop. A good backdrop makes everything placed on it pop and stand out. The same goes for your nails. A smooth and even best base color can enhance the shine of your rhinestones.
3 Popular Color Choices
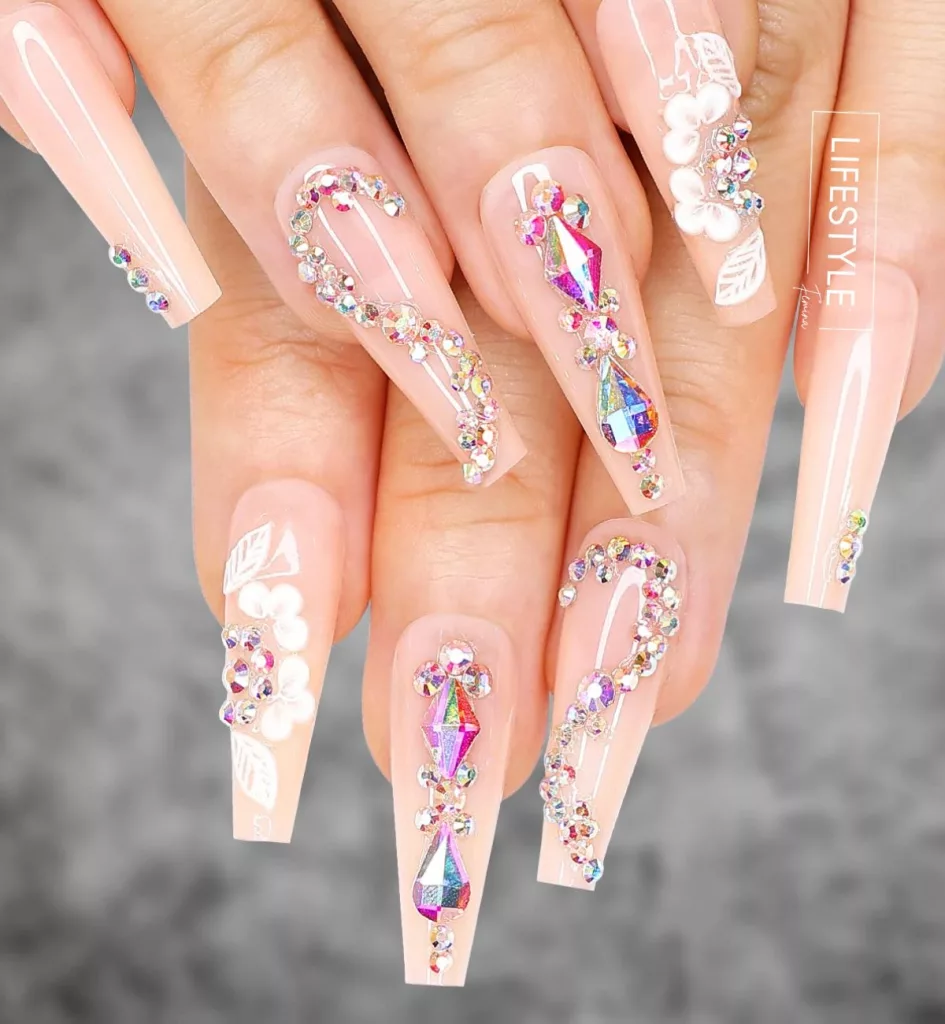
- Nude Shades: These are great because they give a natural and classy look. Nudes allow the rhinestones to be the main attraction.
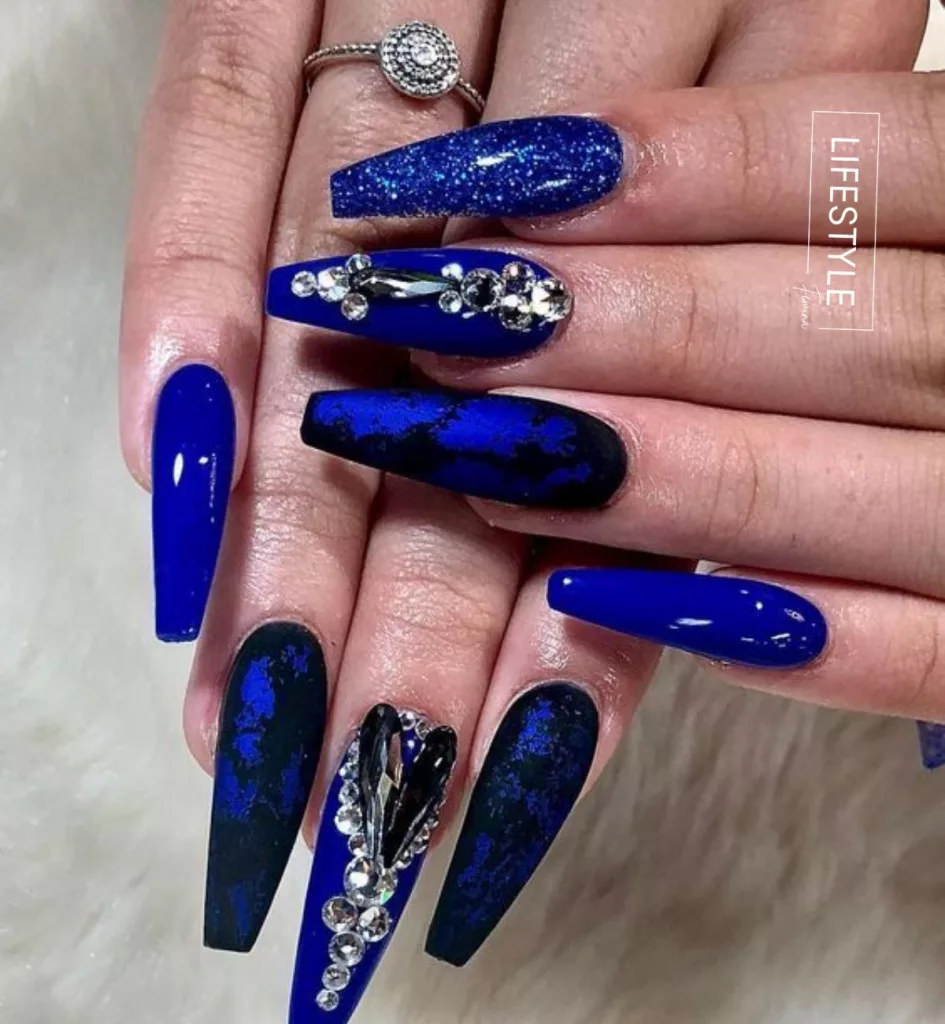
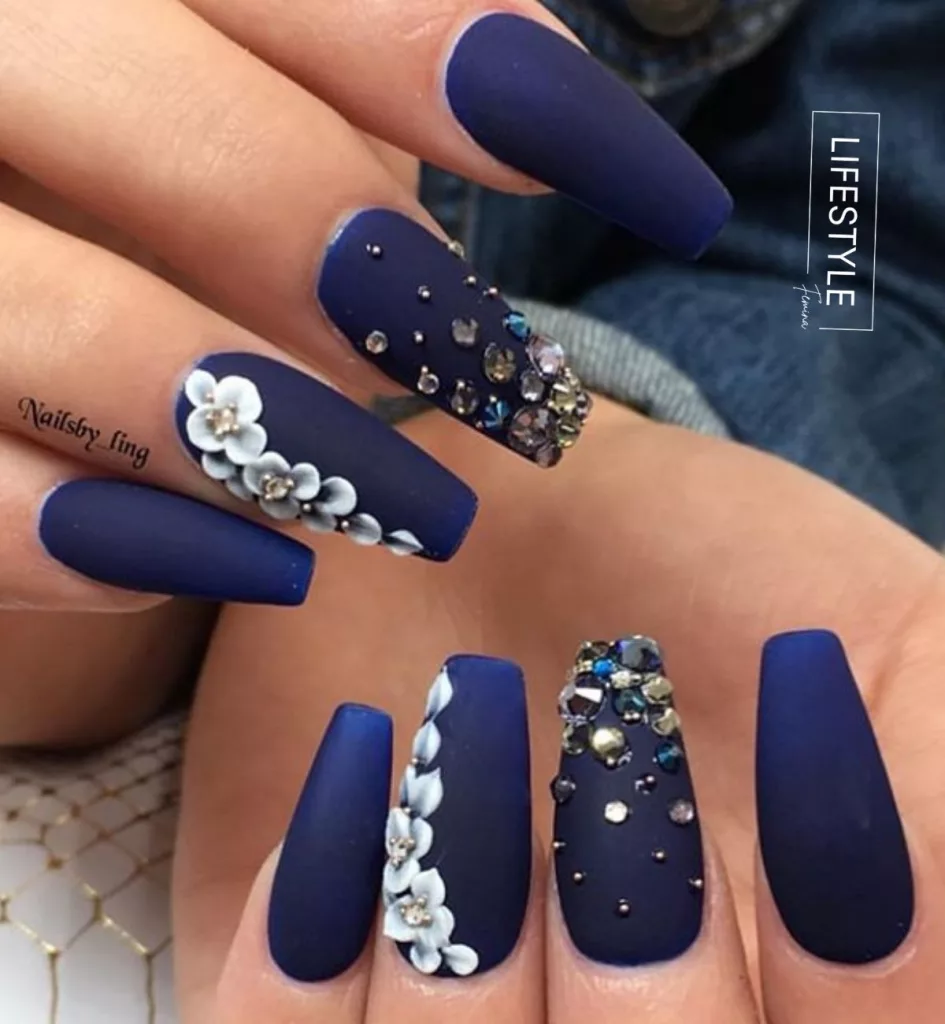
- Black or Dark Shades: Dark colors like black, navy, or deep purple can make rhinestones sparkle and catch the eye.
- Pastels: Light pinks, baby blues, or soft lavender can add a touch of sweetness to the baddie look.
Tips for a Flawless Base Coat
- Clean Your Nails: Start with clean, oil-free nails. You can swipe them with some nail polish remover to ensure they’re ready.
- Apply a Base Coat: Before the color, apply a clear base coat. This helps the color stick better and last longer.
- Two Thin Coats: Instead of one thick coat of color, go for two thin ones. This helps the polish dry faster and gives a smoother finish.
- Let it Dry: It’s essential to let each coat dry thoroughly before adding another or placing rhinestones. This avoids smudges or dents.
There’s no wrong choice when it comes to color. It’s all about what makes you feel best. So, experiment, mix and match, and most importantly, have fun with it.
Don’t forget to use Best Nail Cleansers for your beautiful Nails!
The Art of Rhinestone Application
Adding rhinestones to your coffin nails can make them shine and stand out. Let’s learn how to do it right so that they look fabulous and stay on for a long time!
1. Types of Rhinestones for Nails
There are many kinds of rhinestones out there. For nails, you’ll want ones that are:
- Flat-backed: These sit better on your nails.
- Small to medium-sized: So they fit on the nail nicely.
2. Tools You’ll Need
- Tweezers: To pick up and place the rhinestones.
- Dotting tool or toothpick: To apply a tiny bit of glue or clear polish.
- Clear nail polish or nail glue: This is what will hold the rhinestone to your nail.
3. Steps to Apply Rhinestones
- Get Ready: First, make sure your base nail color is dry. You don’t want to smudge it!
- Spot of Glue: Use your dotting tool or toothpick to put a tiny dot of nail glue or clear polish where you want the rhinestone to go.
- Pick and Place: Using your tweezers, pick up a rhinestone and gently place it on the dot of glue or polish. Press down lightly so it sticks well.
- Let it Dry: Wait for a few minutes to make sure the rhinestone is secure.
- Seal the Deal: Once you’re done placing all your rhinestones, brush a clear top coat over your nails. This keeps the rhinestones in place for longer.
4. Tips for a Great Look
- Plan Ahead: Think about where you want each rhinestone to go before you start. Maybe even draw a little picture or make dots with a pen.
- Keep it Simple: If you’re new to this, start with just a few rhinestones on each nail. As you get better, you can try more detailed designs.
- Stay Patient: It can be a bit tricky at first, but with practice, you’ll get the hang of it.
(Trending) Sage Green French Tip Nails
Top 10 Baddie Simple Coffin Nails with Rhinestones
Nail designs are a fun way to show off your personal style. And when it comes to baddie simple coffin nails with rhinestones, there’s a whole world of exciting ideas to explore! Let’s dive into some trendy designs that you can try out for yourself.
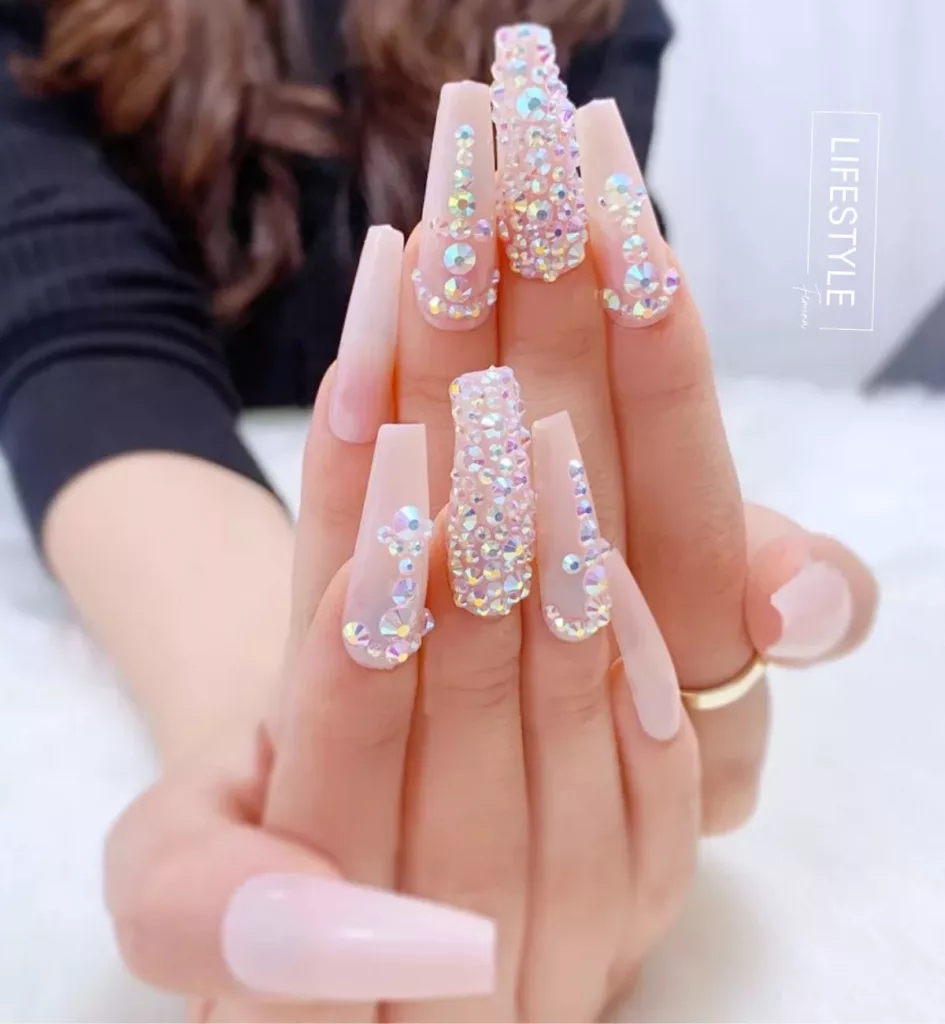
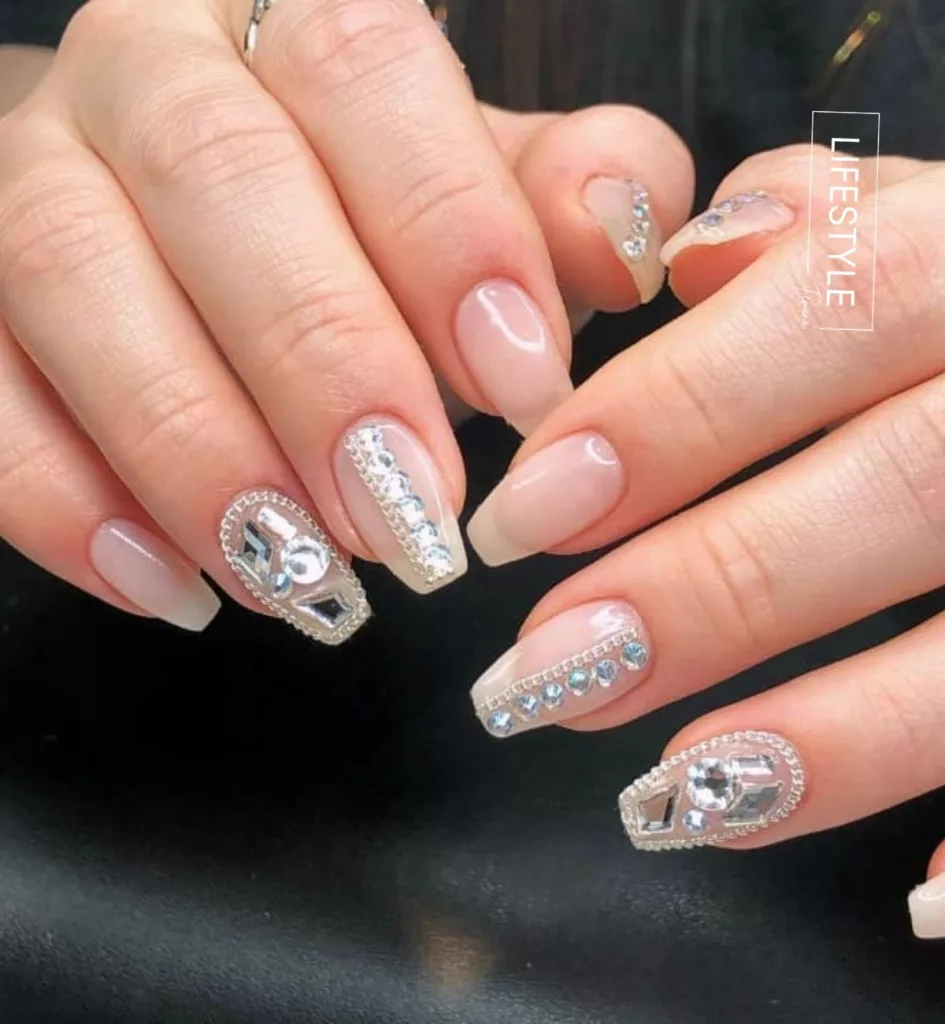
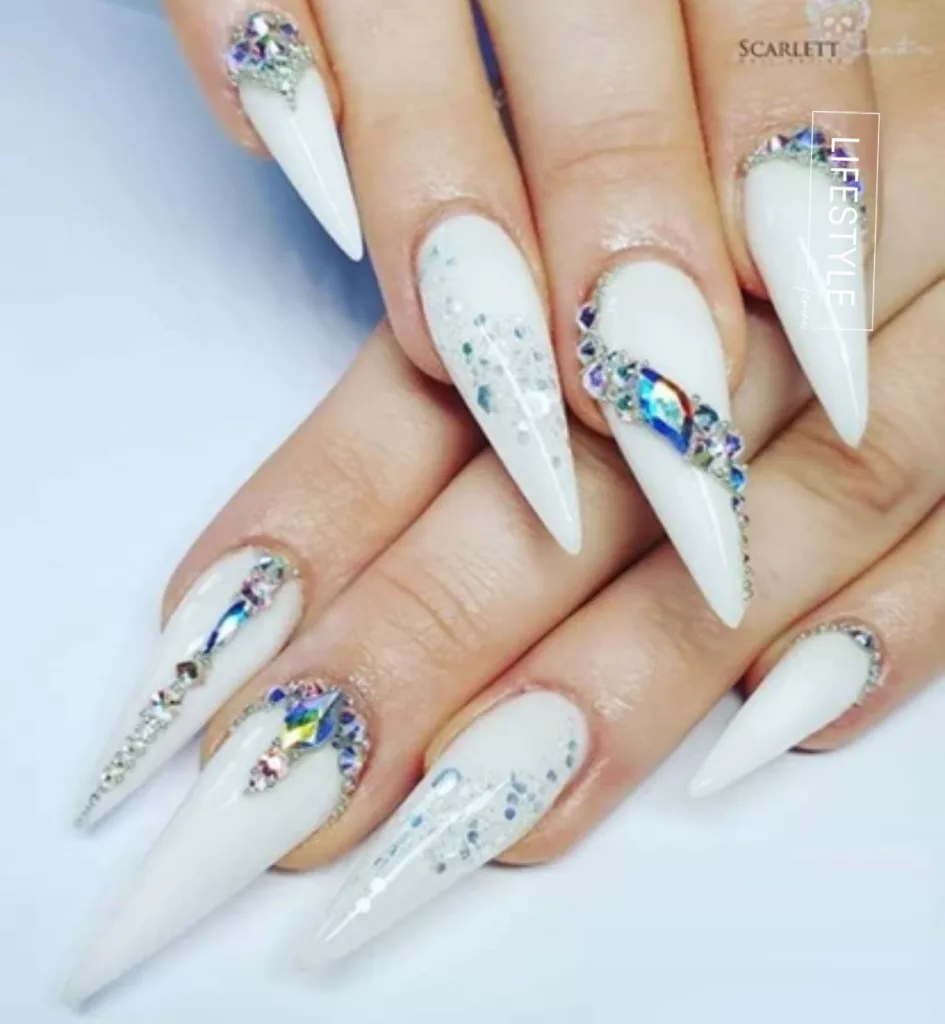
1. Classic Elegance: Start with a nude or pale pink base. This gives a clean and simple background. Then, place a single rhinestone at the base of each nail, near your cuticle. This looks both classy and stylish.
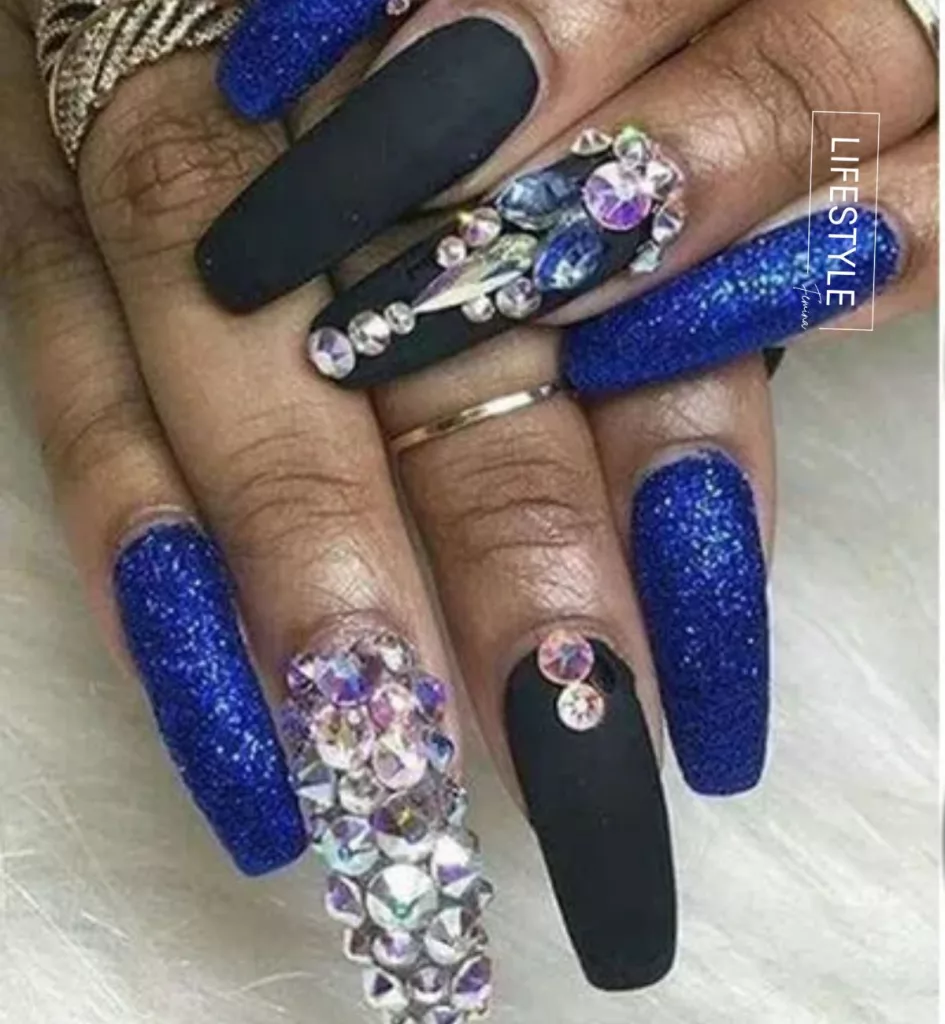
2. Starry Night: Imagine a clear night sky filled with twinkling stars. Use a dark blue or black base on your nails. Next, scatter tiny rhinestones all over to act as stars. It’s like having a little universe on your fingertips.
3. Central Sparkle: Paint your nails with your favorite color. Once dry, place a bigger rhinestone right in the center of each nail. It’s a simple touch but adds a cool pop to your nails.

4. Line of Shine: After applying a base color, arrange a straight line of tiny rhinestones down the middle of each nail. It gives a neat and modern look.
5. Corner Bling: Add a twist by placing three to four small rhinestones at one corner of each nail. You can choose either the base or the tip of the nail. It’s unique and playful.
6. Gradient Glitter: Begin with a subtle base color, like soft pink or beige. Then, place rhinestones starting from the base, gradually reducing the number as you move to the tip. This gives a beautiful gradient effect, as if your nails are dripping in sparkle.
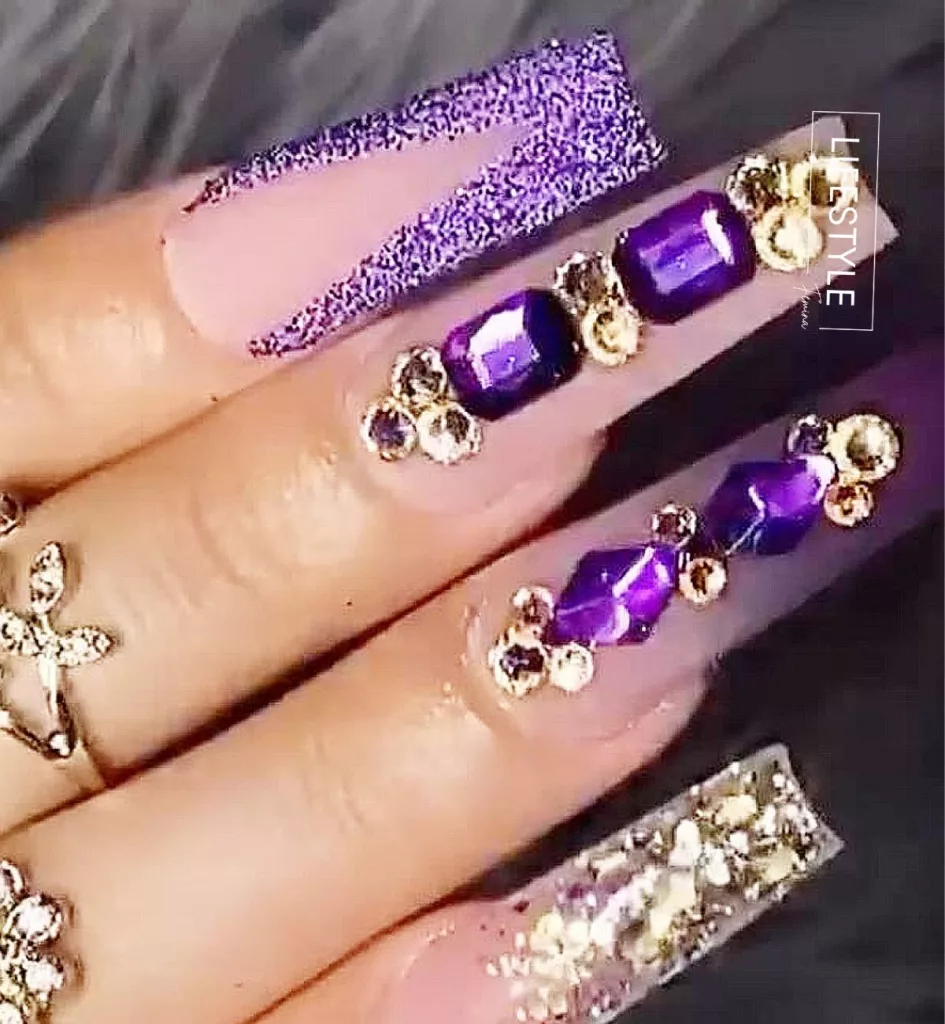
7. The Royal Crown: For a regal touch, position larger rhinestones in a semi-circle shape at the base of your nails, resembling a crown. Complement with a rich base color like royal blue or deep purple to really make it pop.
8. Side Sweep: Choose a vibrant base color for a lively backdrop. Then, position rhinestones in a diagonal line starting from one side of the base, sweeping across to the opposite corner at the tip. It’s a simple yet dynamic design.
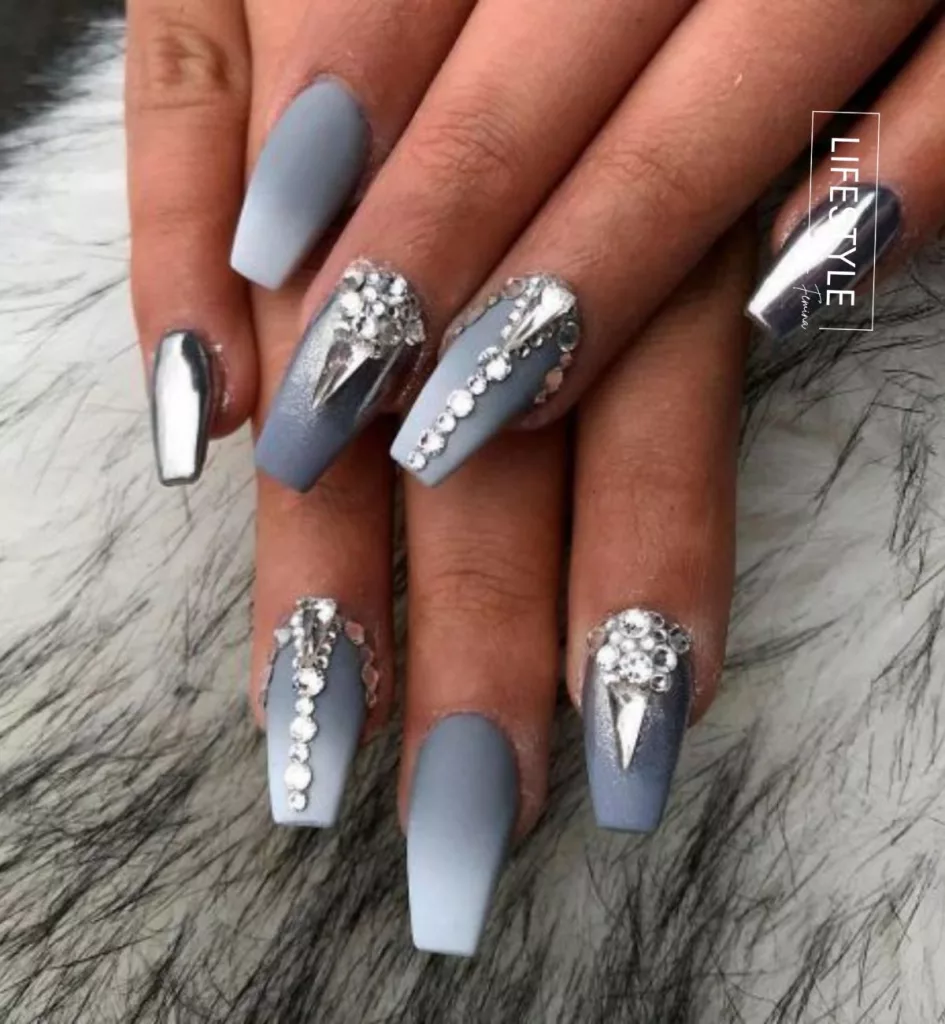
9. Rhinestone Rain: Imagine a gentle rain where each drop is a sparkling rhinestone. Paint your nails with a cloudy gray or soft blue. Place rhinestones randomly, as if they’re raindrops falling across your nails.
10. Dual Tone Diva: First, paint half of your nail in one color and the other half in a contrasting hue. Where the two colors meet in the middle, line up your rhinestones for a dazzling division.
Do your Nails Care: Best Hand Creams for Aging Hands You Need to Know About!
More Coffin Nails Ideas with Rhinestones
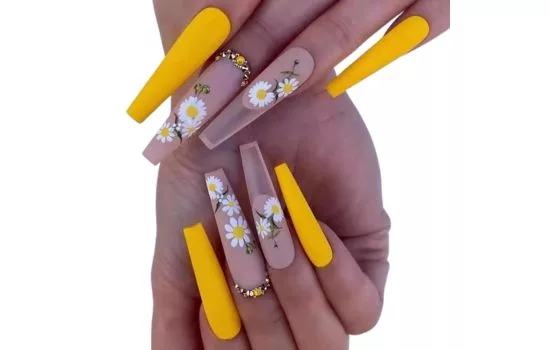
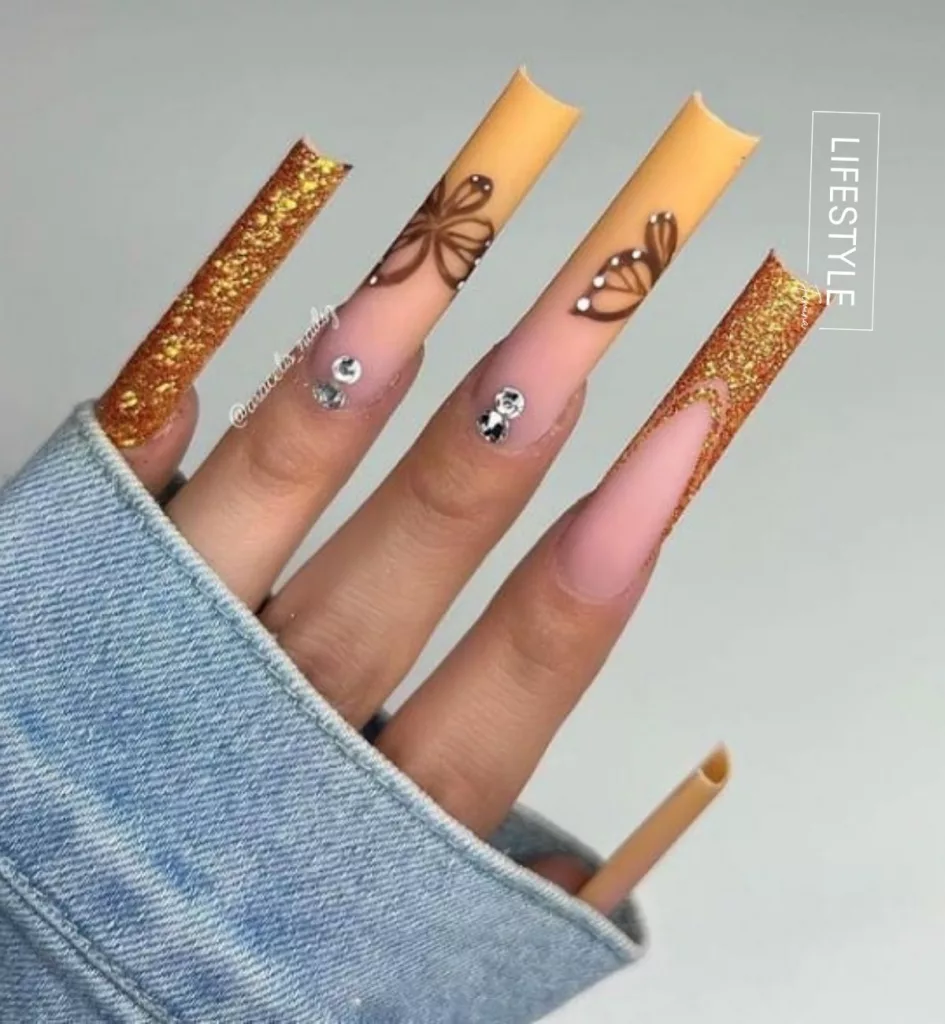
Yellow Coffin Nails with Rhinestones
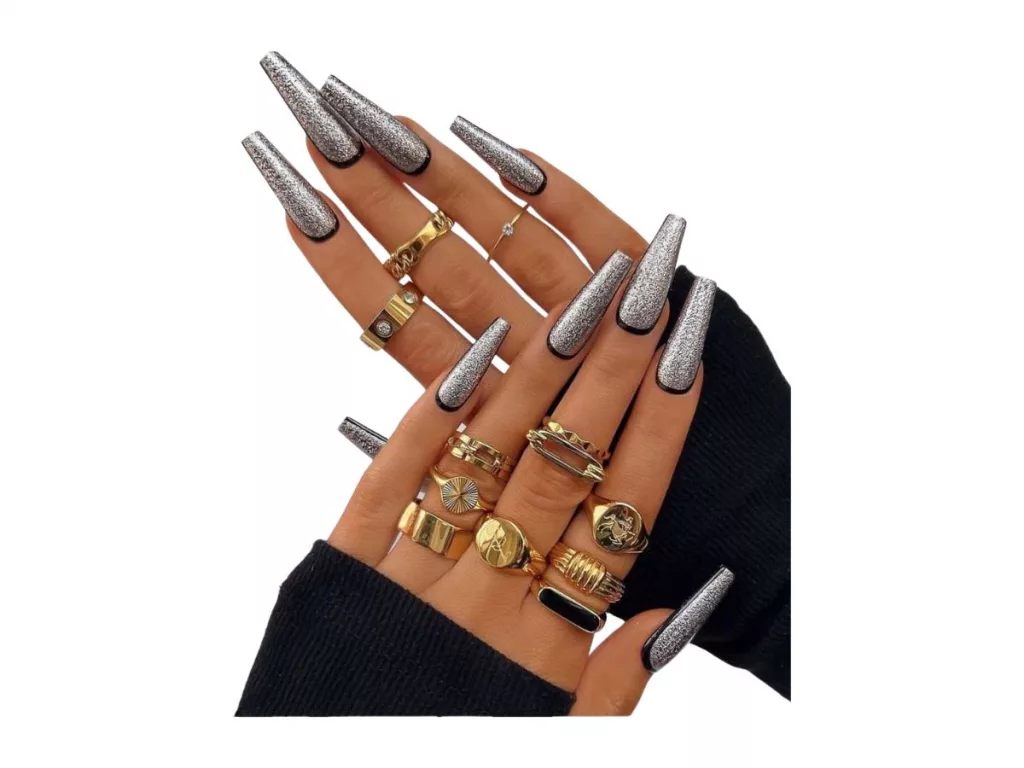
Simple Rhinestone Nails
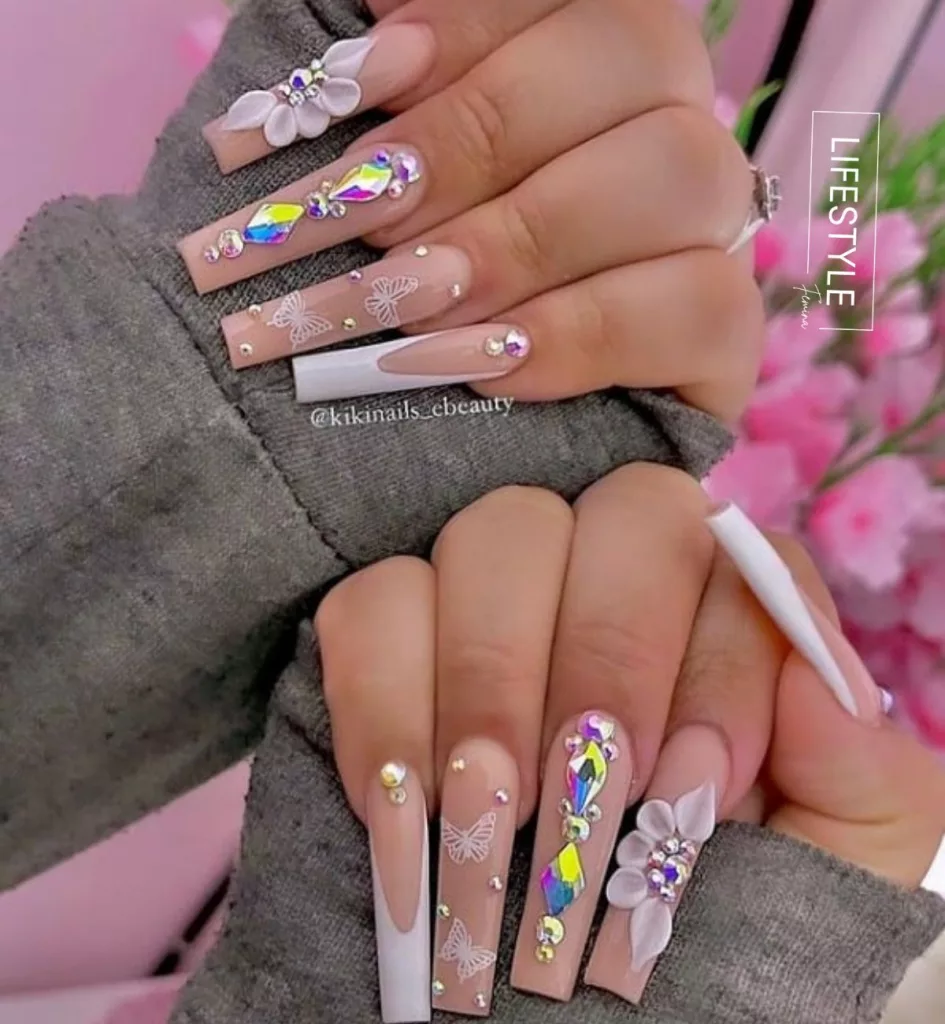
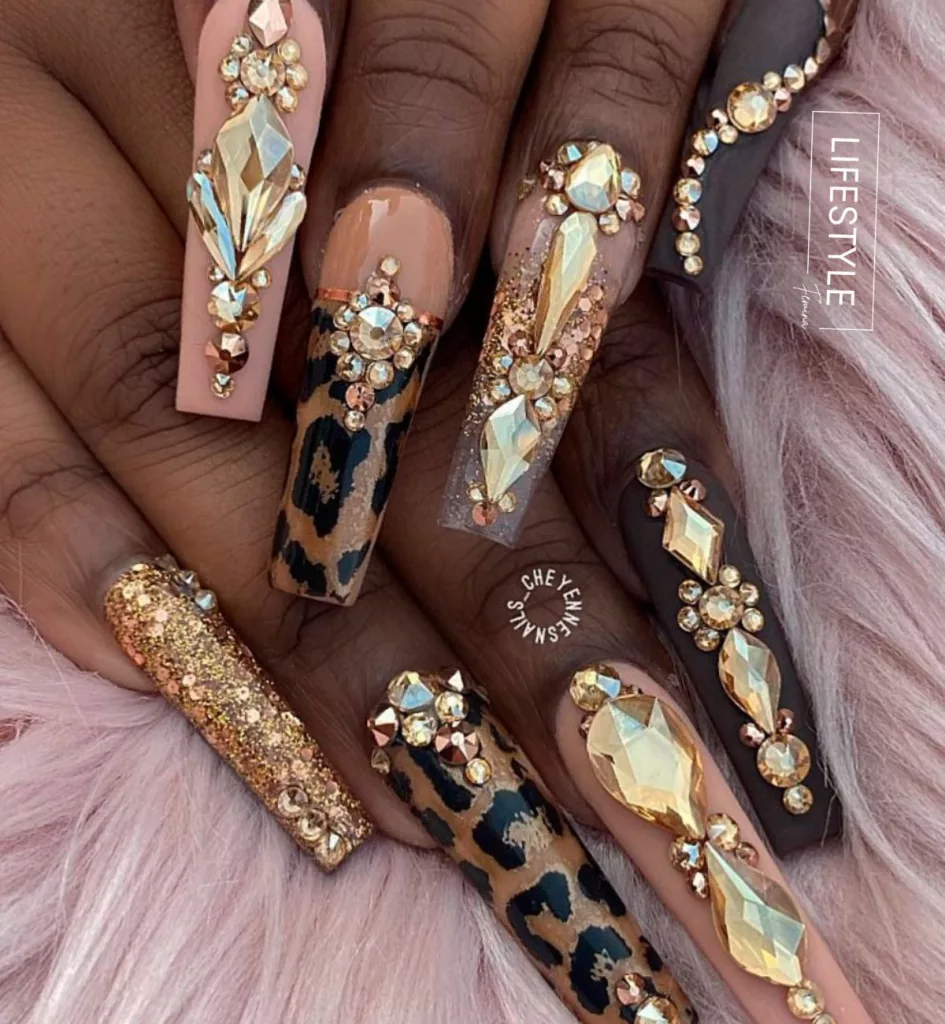
Brown Nails with Gems
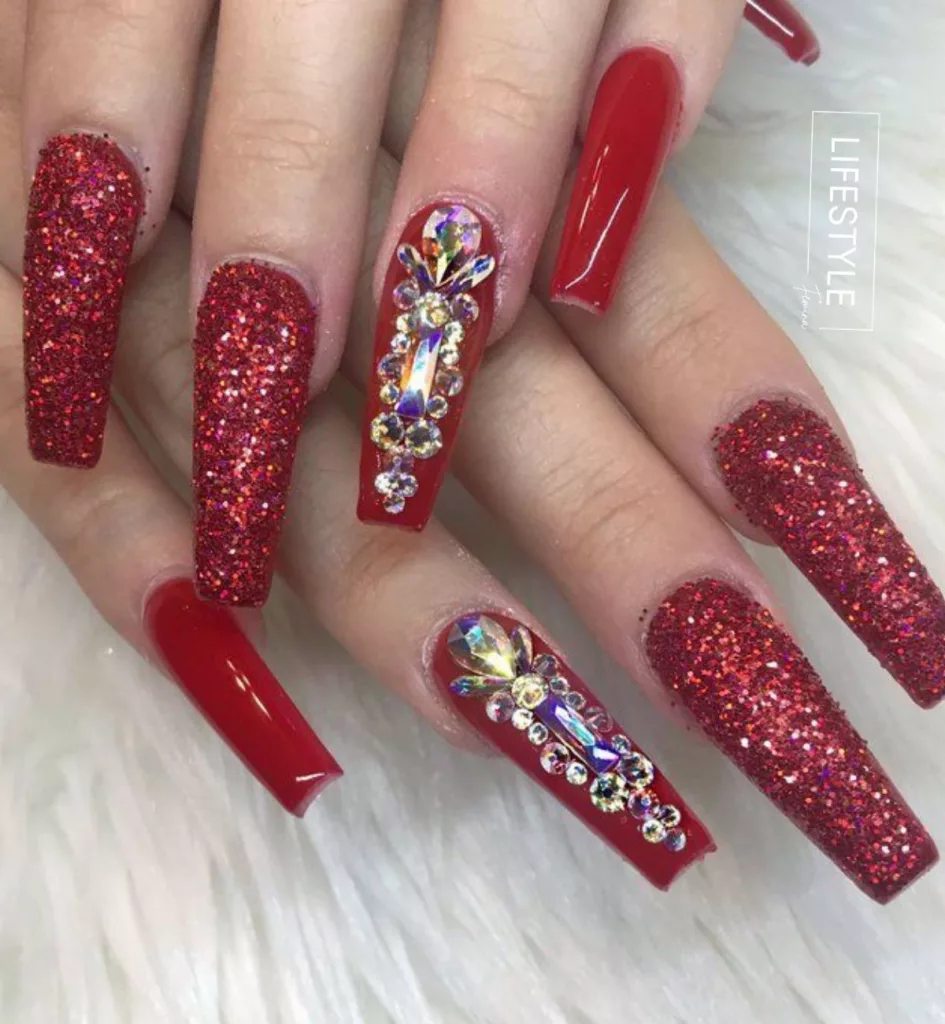
Red Rhinestone Nails
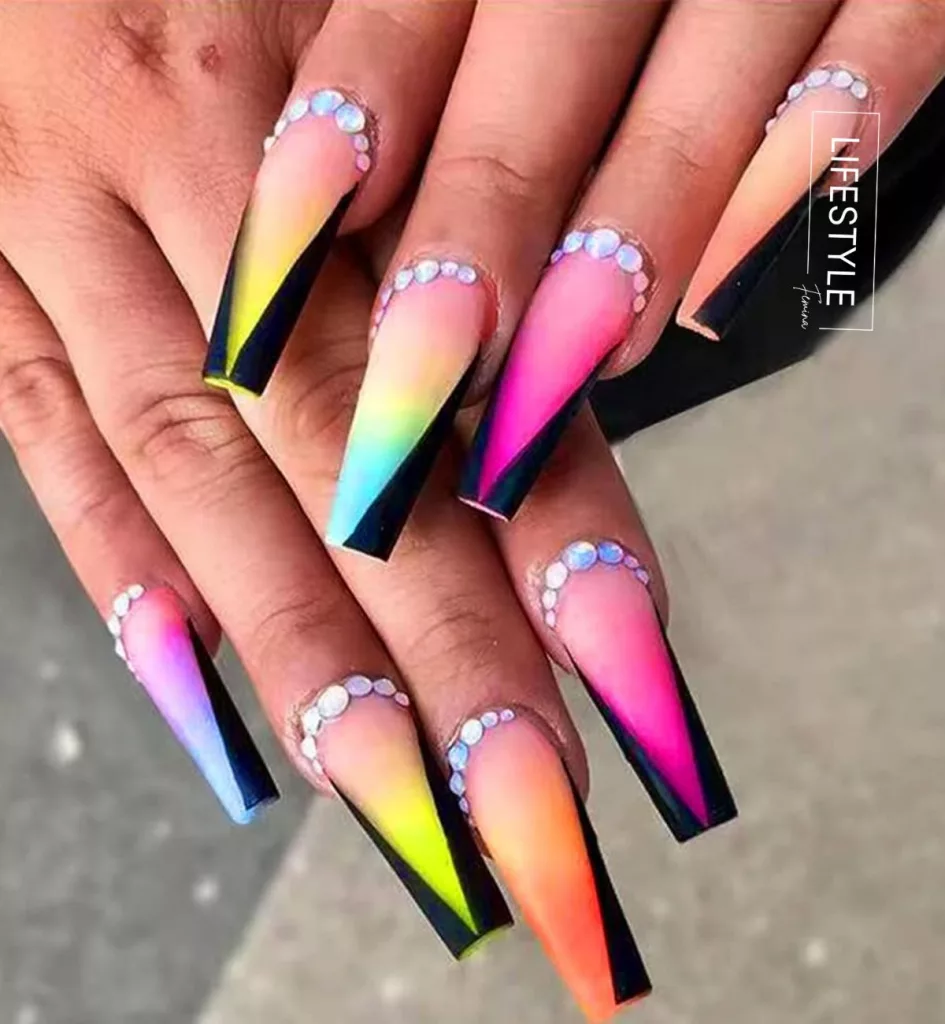
Gradient Coffin Rhinestone Nails
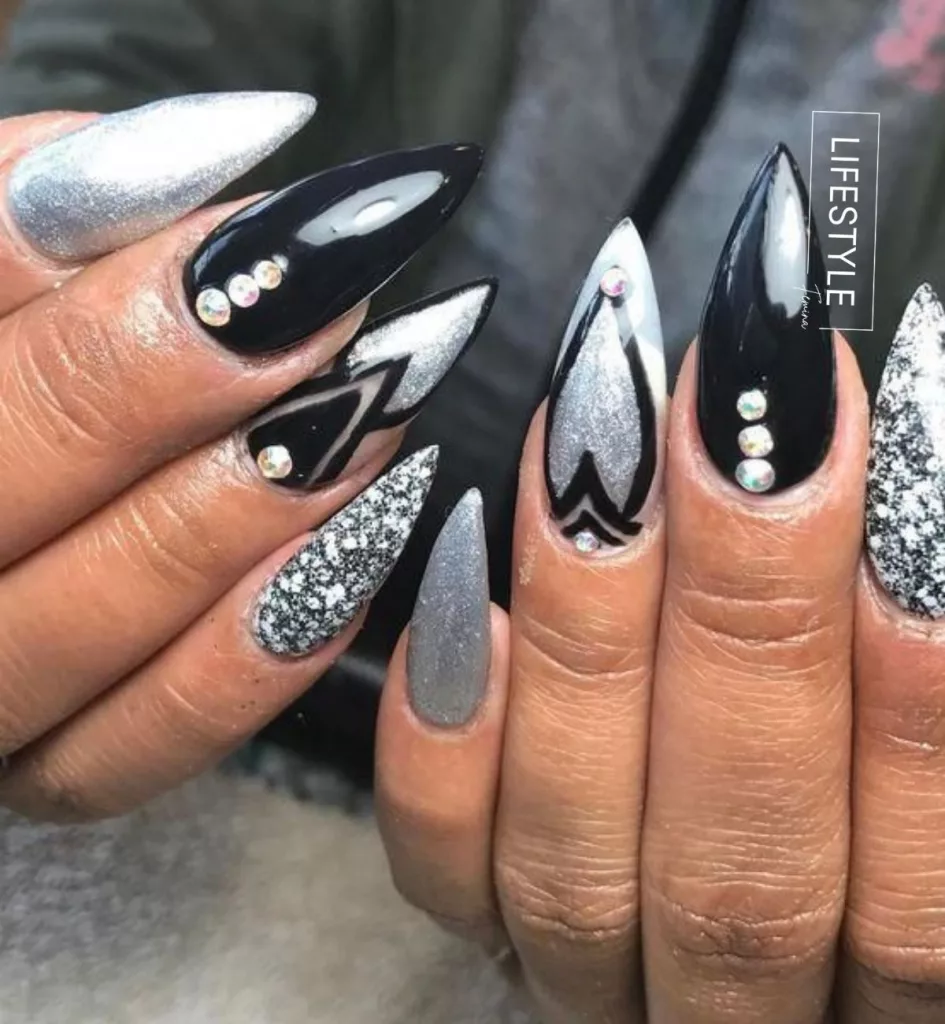
Black and White Coffin Rhinestone Nails
Polka Coffin Rhinestone Nails
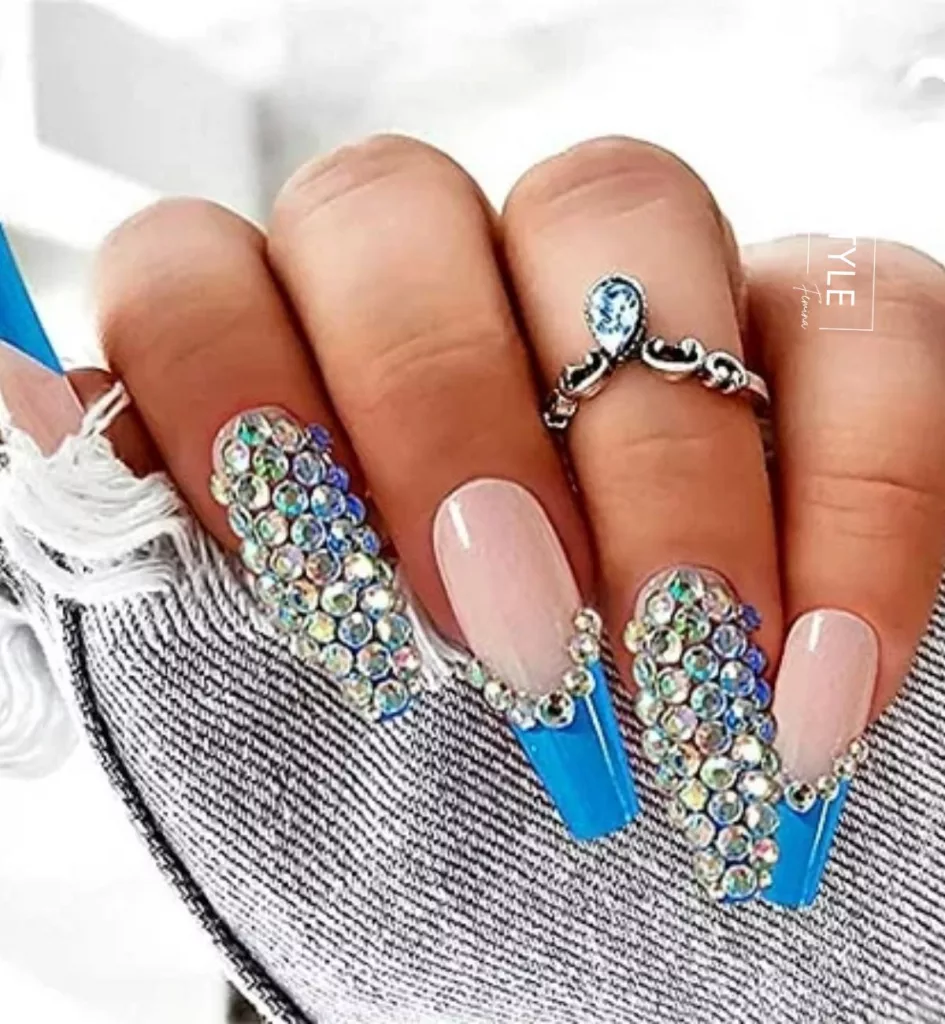
Tip Rhinestone Nails

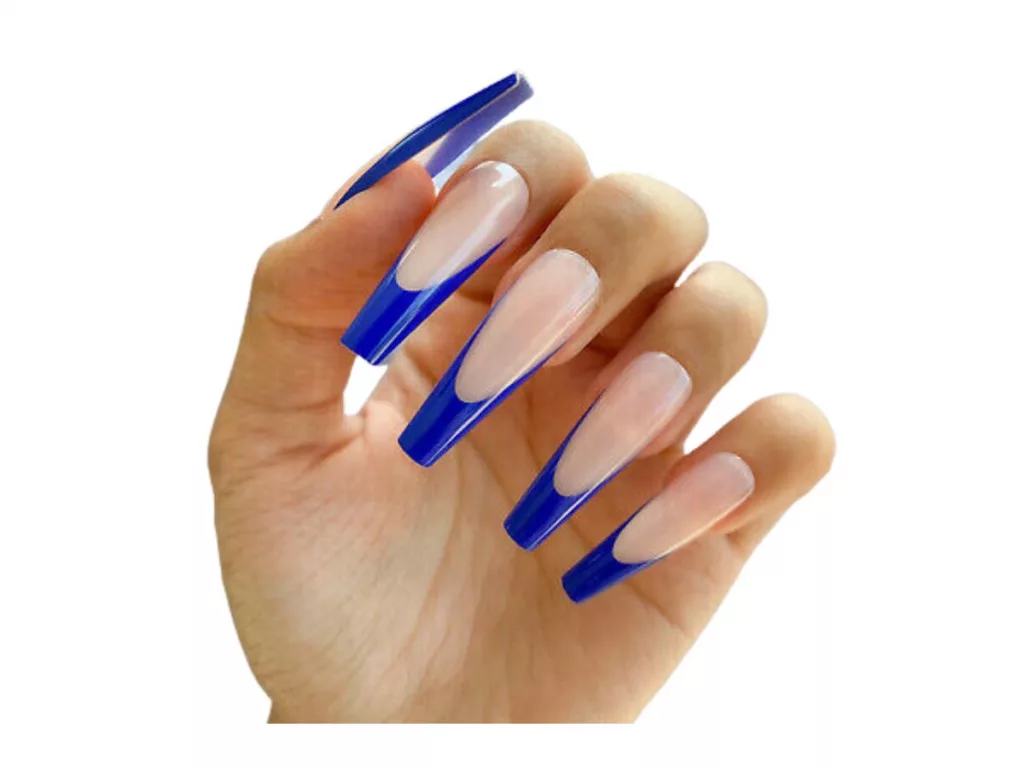
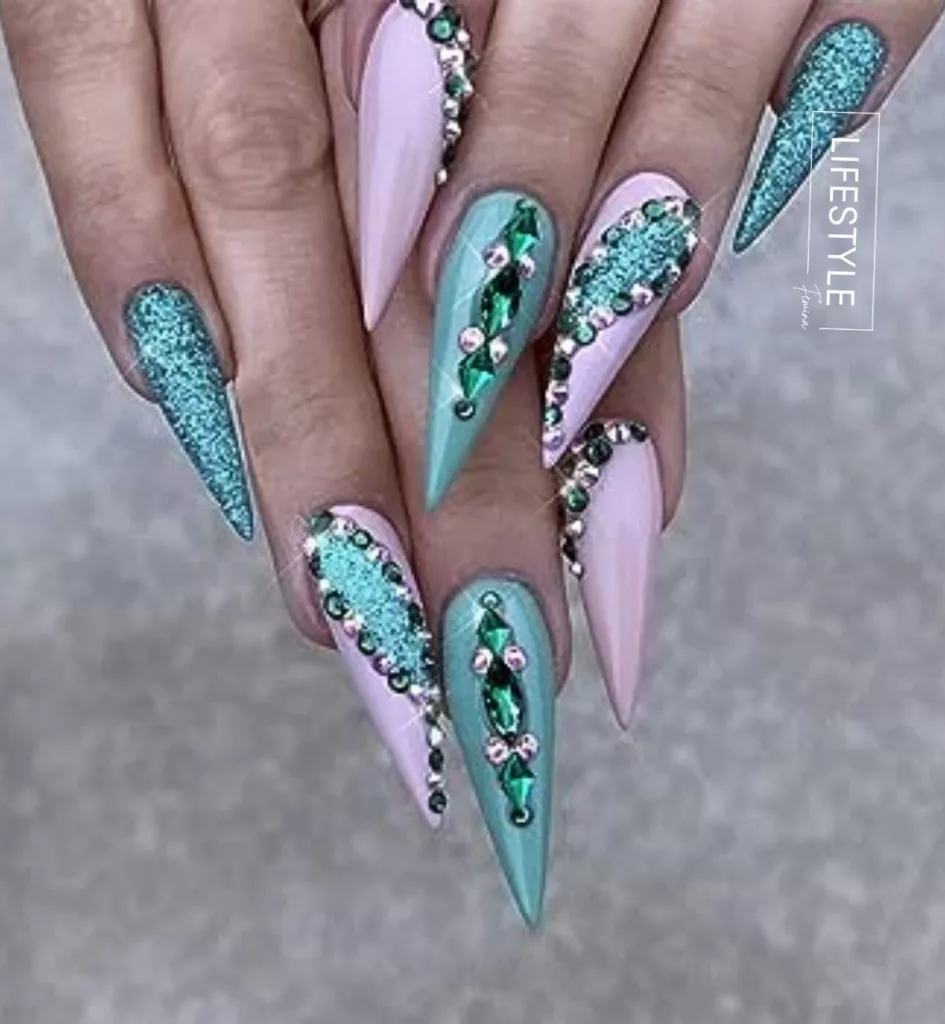
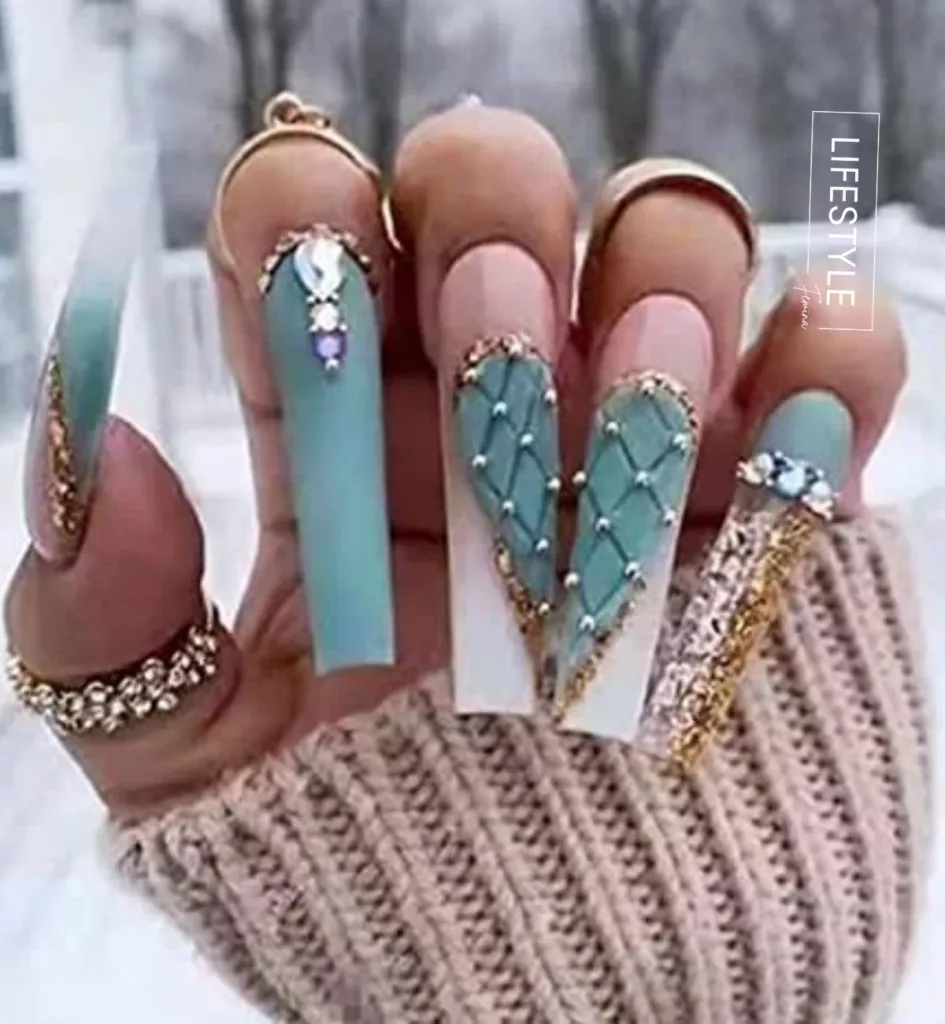
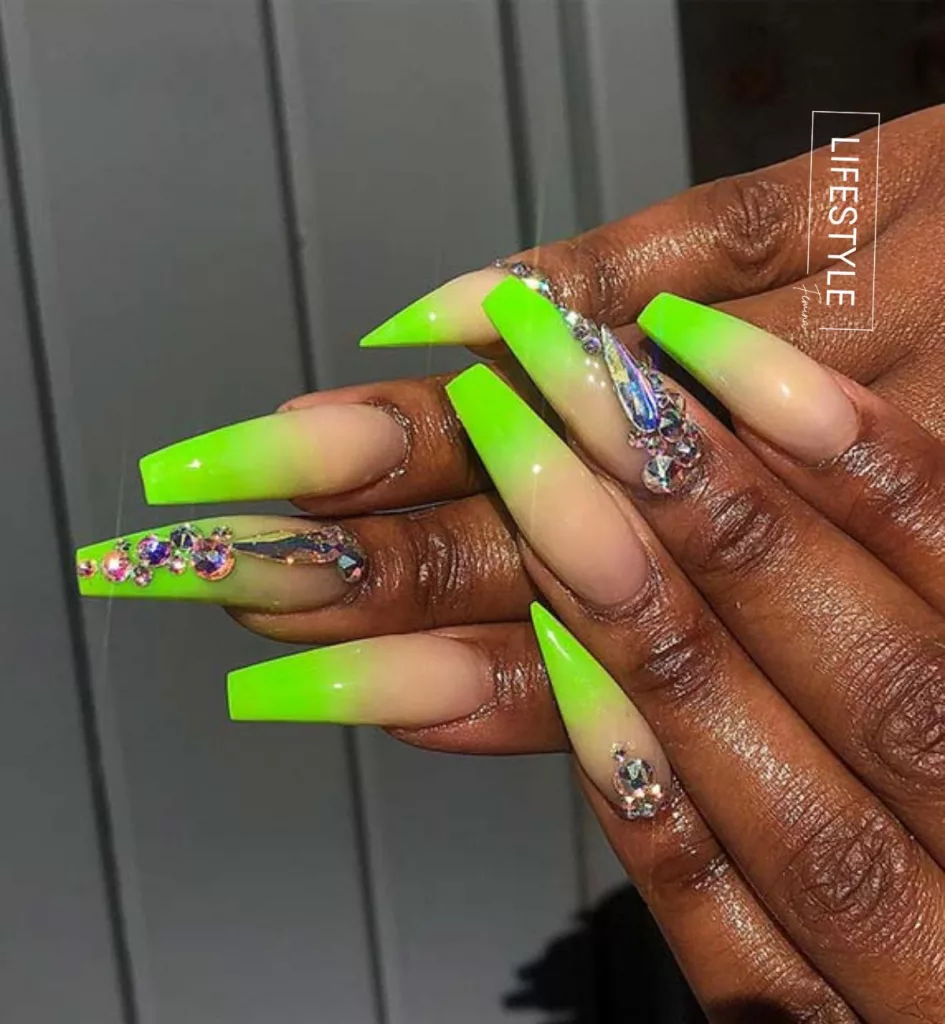
Green Baddie Simple Coffin Nails with Rhinestones
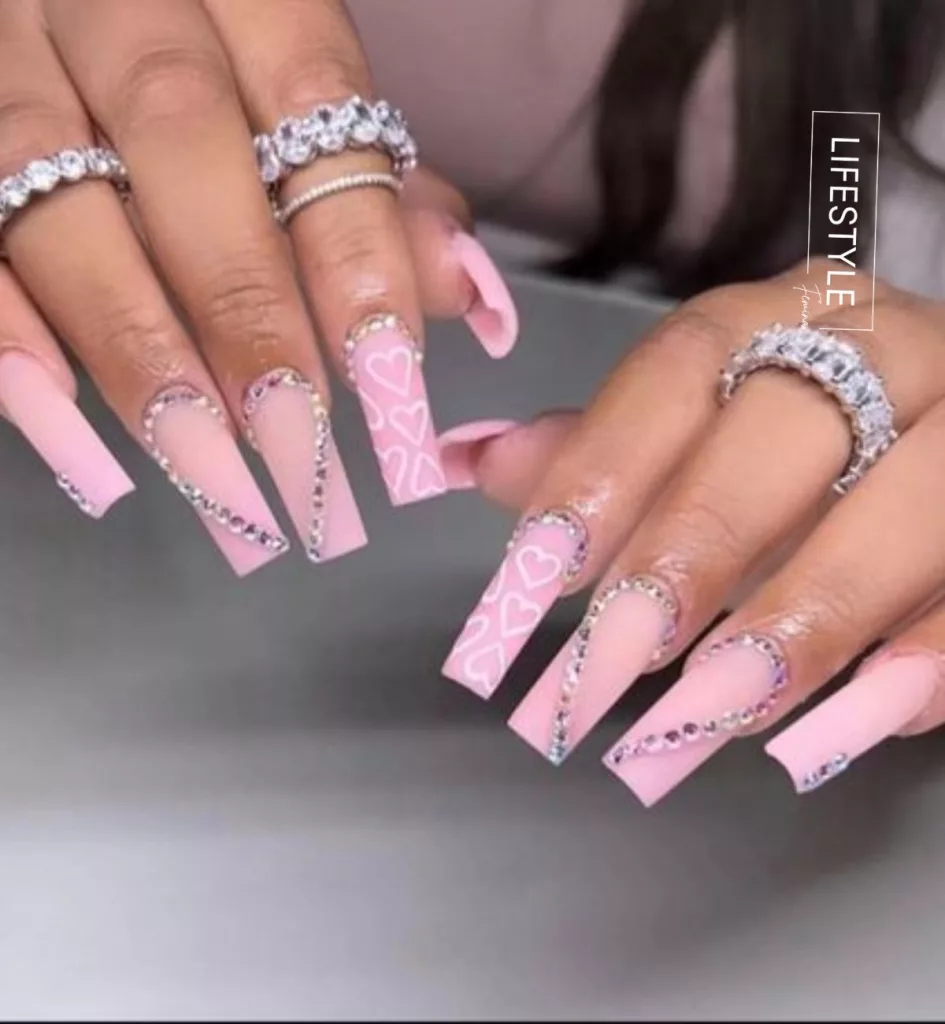
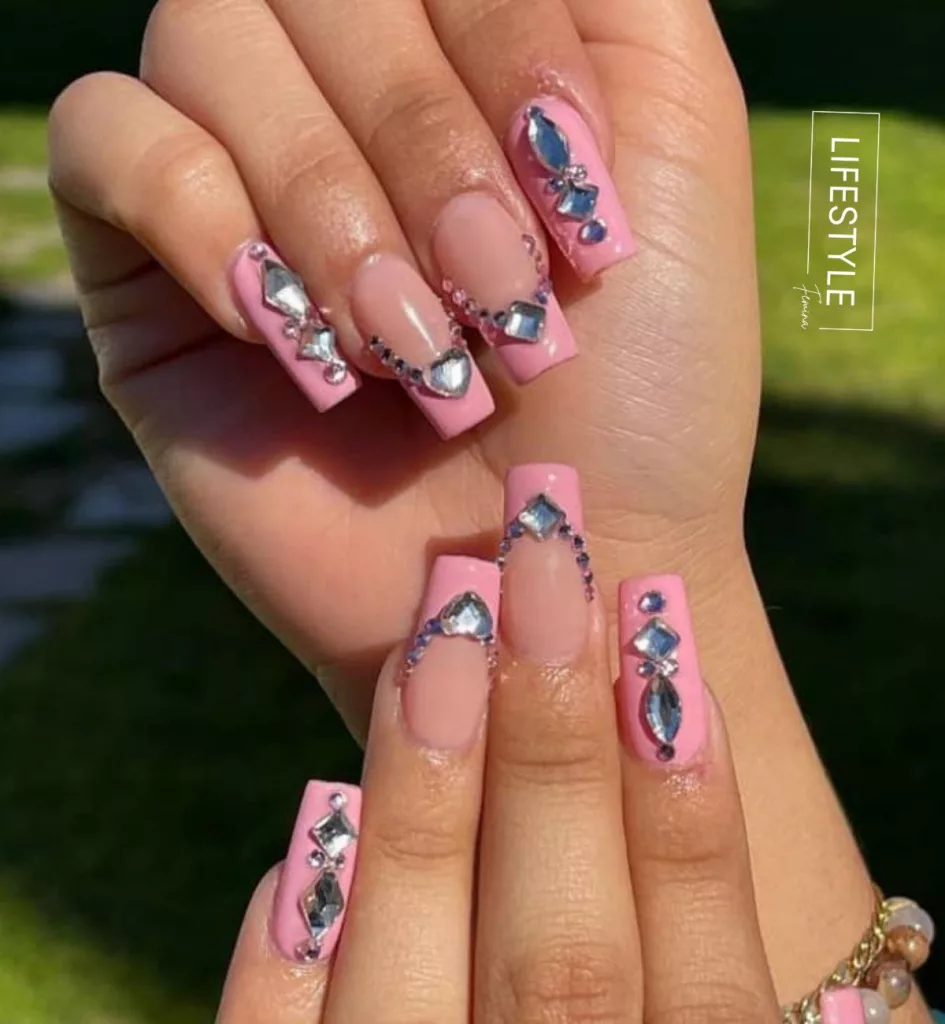
Pink and Red Baddie Simple Coffin Nails with Rhinestones
Tips to Keep in Mind
- Mix and Match: You don’t have to stick to one design for all nails. Maybe have a central sparkle on one nail and a line of shine on another. Have fun with it!
- Use Good Glue: Make sure to use a strong nail glue or a thick clear polish to stick the rhinestones. This way, they’ll stay on longer.
- Play with Colors: While we gave some color suggestions, feel free to use any color you love. Remember, it’s all about showing your style.
In the end, the best design is the one that makes you feel happy and confident. So, grab your rhinestones and start decorating those nails.
Also Read: Rainbow Nails Ideas to Light Up Your Life
Final Thoughts
In a nutshell, baddie simple coffin nails with rhinestones combine style and sparkle in a unique way. We’ve explored how to shape, color, and add that glittery touch with rhinestones. It’s all about starting with the right prep and letting your creativity shine. So, gear up, try it out, and let your nails make a statement.